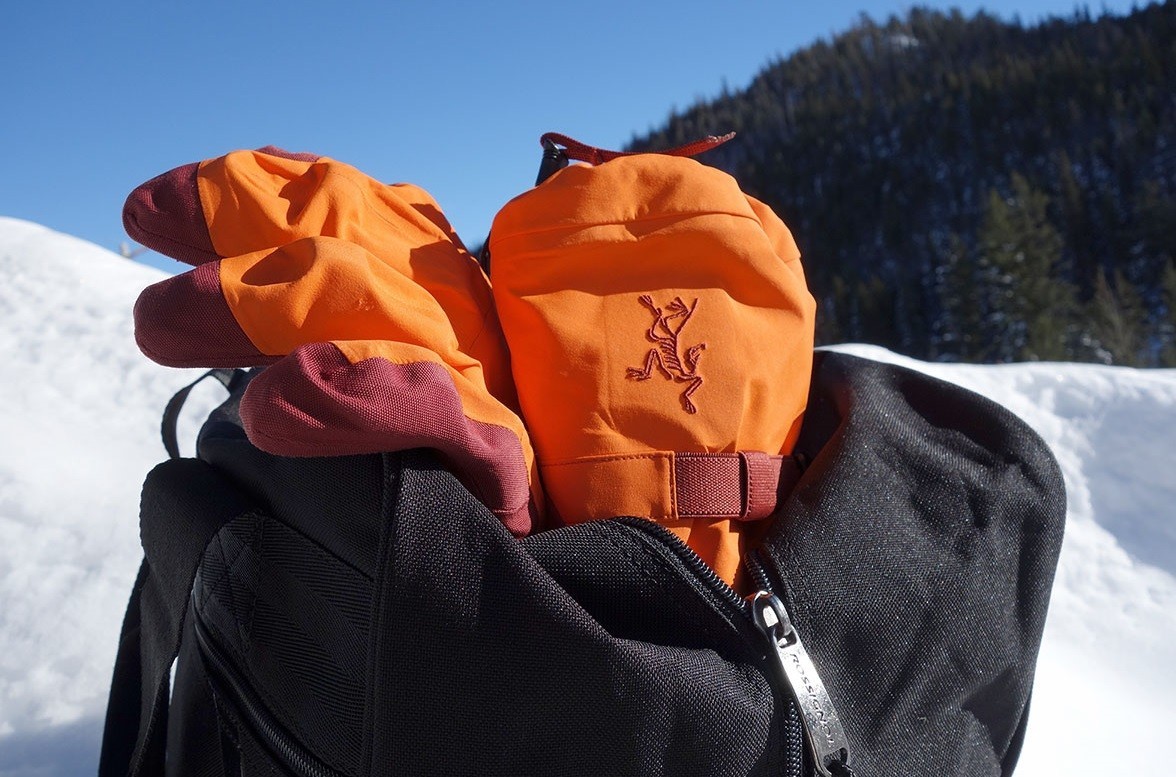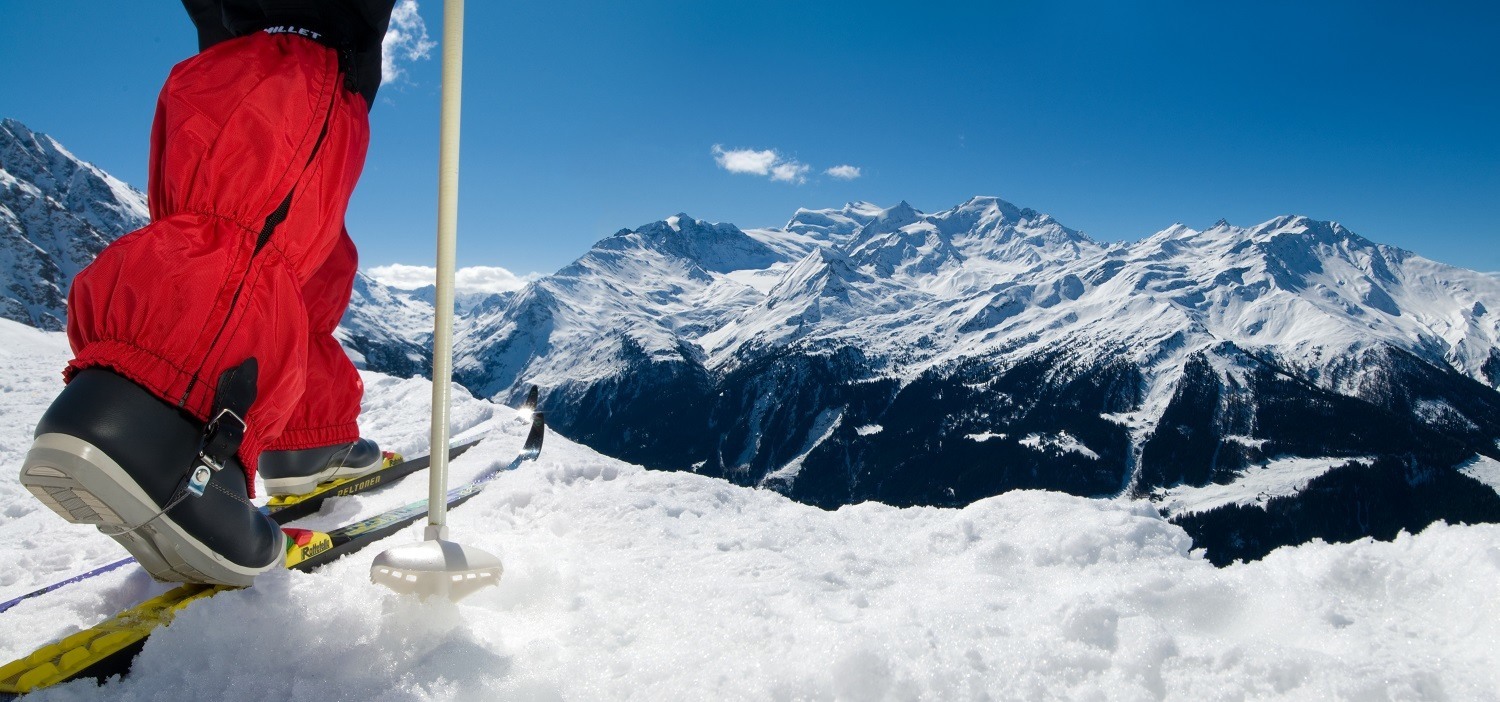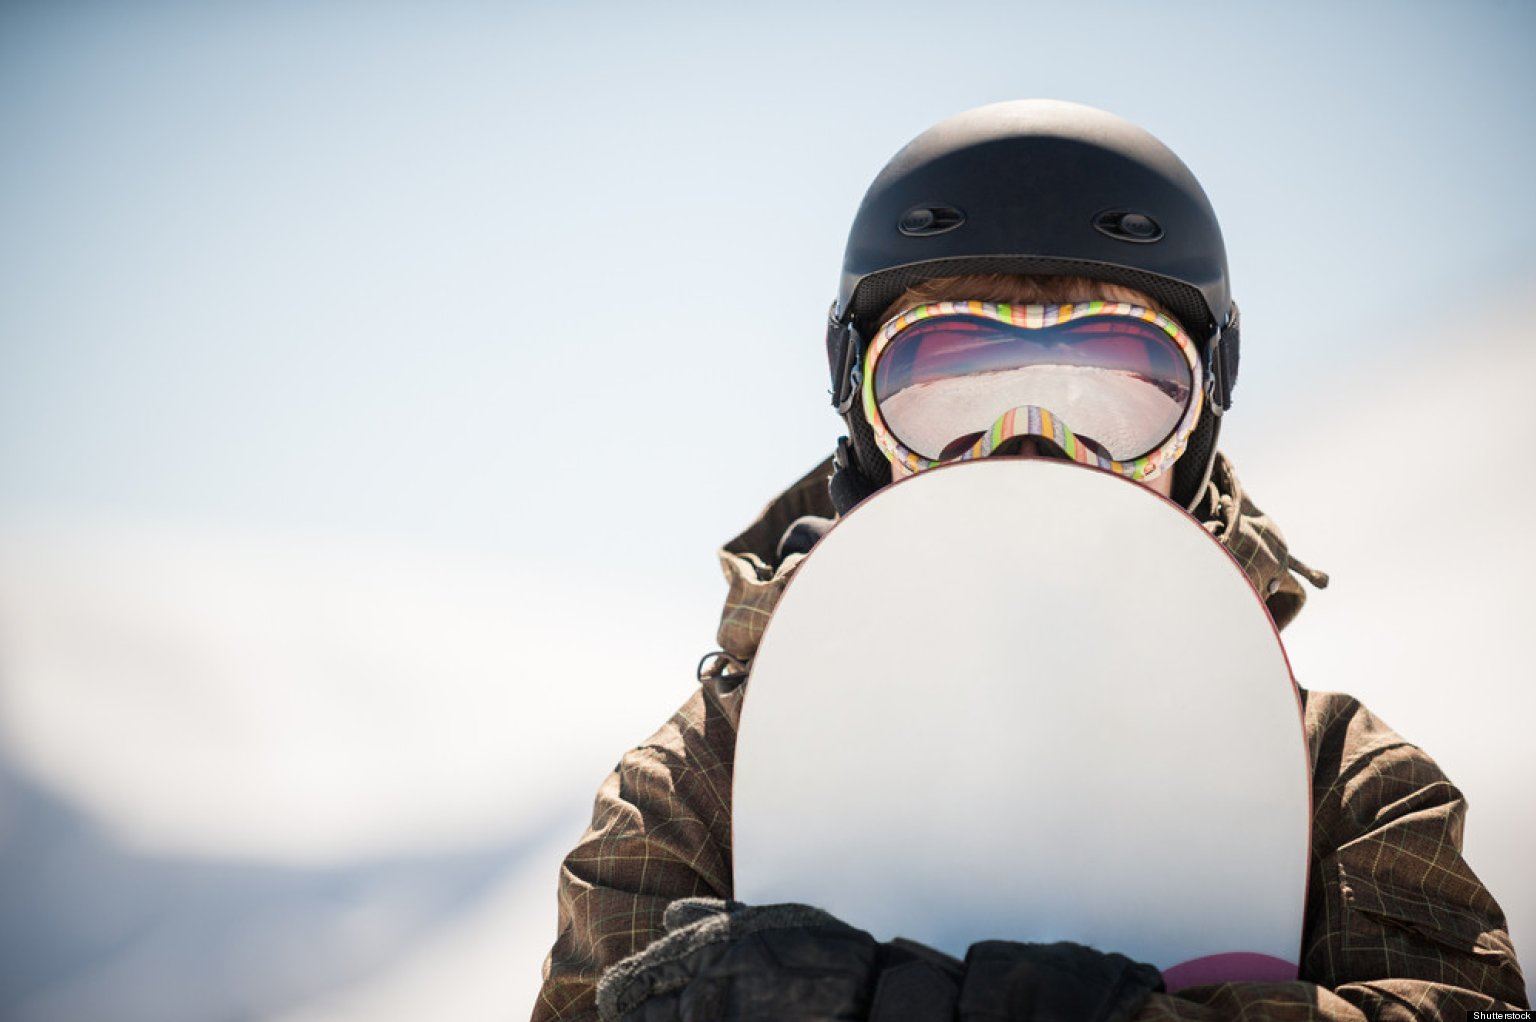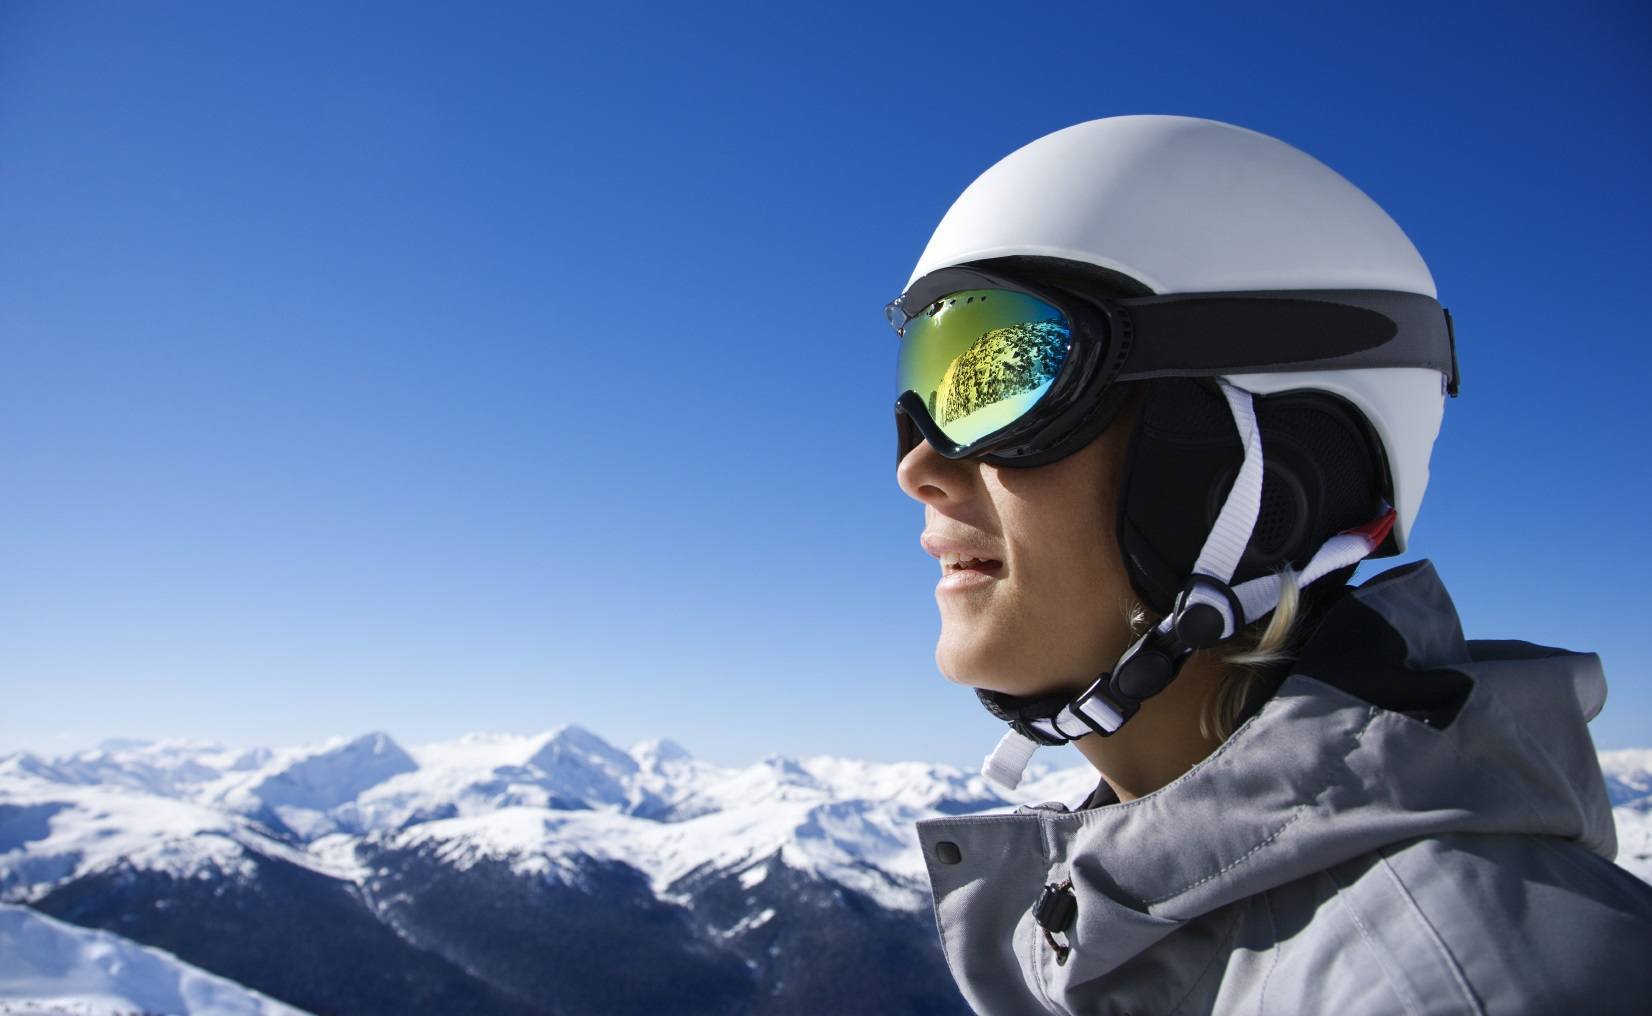
Welcome to our guide about How to Adjust Ski Bindings. Imagine yourself skiing down a mountain at speeds of up to 40 mph! Your full trust lies in the skis beneath your feet. Skiing is one of the most exhilarating sports with very few injuries. Individuals in the skiing world understand the importance of safety procedures. Our goal is to make safety procedures easy to follow for all skill levels.
Safe is Better than Sorry
When you’re zooming down the hill, it’s important to know your ski bindings have been fitted properly. Improperly fit ski bindings can lead to injuries and even death. We’ve created an all-inclusive simple step by step guide about how to adjust ski bindings. This guide is suitable for any skill level. Small adjustments can easily be made by you when you know what to look for.
Did you know that gender, skill level, ski boot size, and terrain type all need to be taken into consideration when making adjustments? Get your family and friends involved when learning about ski safety. These detailed steps on how to adjust ski bindings will ensure you have the most fun with the least worries.
How Long Do Ski Bindings Last?
A quality set of ski bindings should last just as long as the skis themselves. Somewhere between 100-120 days of use. If you buy used skis, you might want to consider buying new bindings to mount on them.
How to Mount Ski Bindings: Steps 1-5
So how do you adjust snow ski bindings? Let’s jump right in. These detailed steps will ensure you have the most fun with the least worries.
Start off by asking yourself, “What’s my experience with mounting ski bindings?” You’ve spent both time and money to purchase your new skis. The bindings on your skis have to function properly to keep you safe. Downhill bindings have to be strong and durable for any level of skier. They allow the users to quickly go down hillsides at incredibly fast speeds.
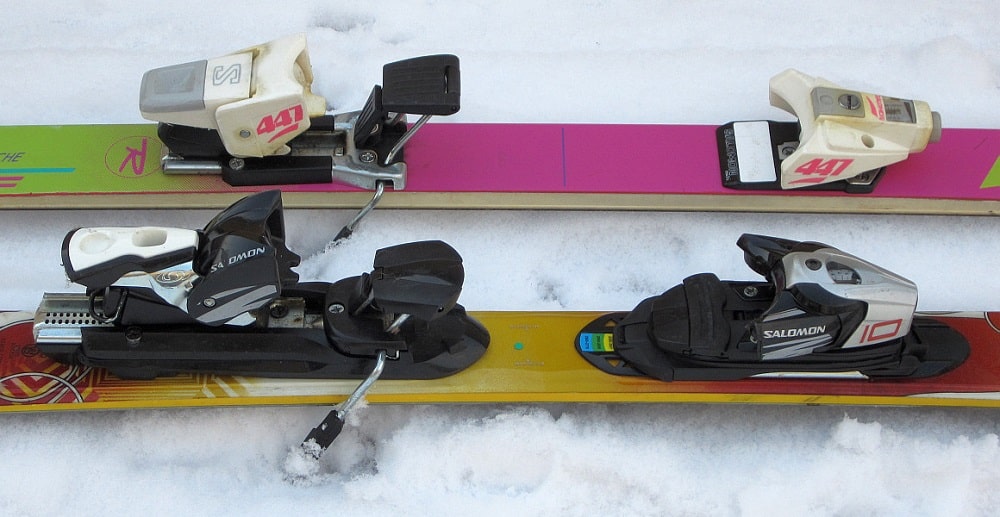
The bindings on your skis exist to help prevent leg injuries. They allow your boots to be easily released from your skis. Bindings also are the way you will steer your skis. At high speeds, it’s important to know your bindings are safely and properly secured. Otherwise, your fun time will quickly become a disaster. Mounting bindings onto skis is a skilled practice. If you don’t know what you’re doing, for safety reasons, get help from a professional. Professionals can also help with how to choose ski bindings.
Information and Tools
However, if you have the experience and tools you can easily get the job done yourself. The entire process can be done with just one person, some information, and a screwdriver. Most older models will require you to use a screwdriver to make adjustments. While newer models will have a special locking feature. This will allow you to release and adjust the bindings without using a screwdriver.

There’s also 6 pieces of information you’ll need. You need to know:
- the skier’s gender
- age
- height
- skill level
- weight
- and boot size
Once you have all of the tools and information you can start adjusting the binding. Even if you’re just wanting to learn how to adjust ski bindings for new boots, we highly recommend going through every step of this process.
Step One: Begin with the Front Binding
You will always begin at the front of the binding.
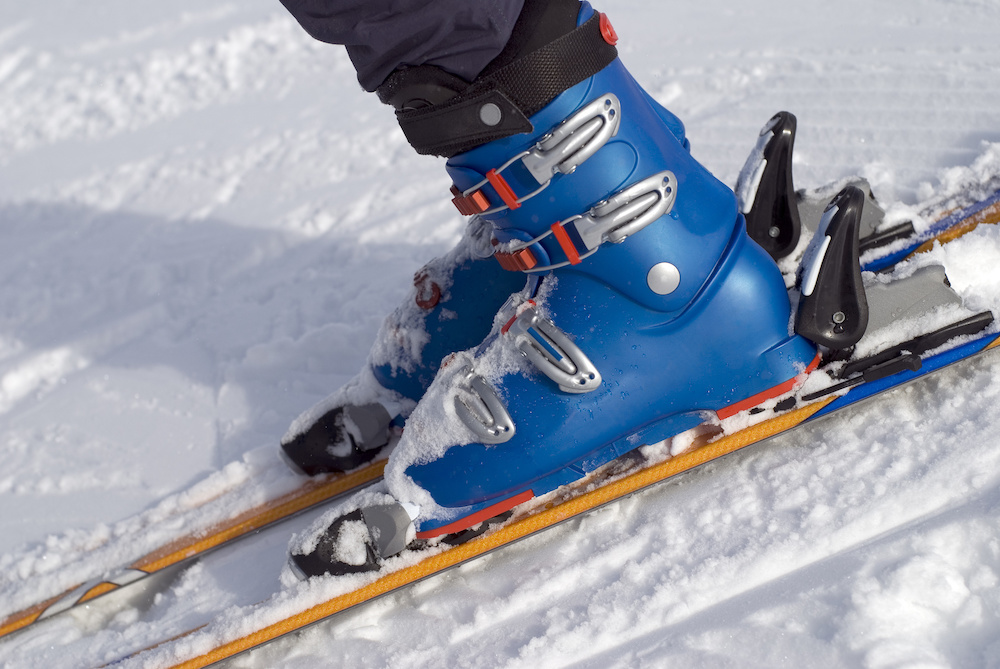
If you’re wondering how to move ski bindings, start in the front. The front is where you will be adjusting the length of the bindings. You will also be able to adjust the pressure (compression) from the front of the binding. This is a delicate part of the adjustment process and should never be rushed.
It’s helpful to remember that every binding is different. Settings that worked for past bindings might not work for your new ones. Never skip a step when you are setting new bindings. The result will be an improper fit and dysfunctional ski’s.
- Begin by looking at your ski boot for the length of your sole. The boots sole length will be printed on the heel of your boot.
- Once you have the length of the sole you can adjust the binding. The soles length will probably be written in millimeters. On the front of your skis, there will be a millimeter counter.
- With the millimeter measurement of the sole in hand, you can adjust the millimeter counter on your skis.
- Set this counter to match the number you found on the heel of your ski boot.
- Then you will lock the binding in place.
Step Two: Finding the Perfect Position
Having a perfect fit means the ski boot and bindings will work in your favor.
- Slowly begin to position your ski boot into the binding.
- Put the toe of the boot into the front part of the binding.
- Then you can lock the boot into place.
Step Three: Check the Settings
After, you lock the boot into place you’ll have 2 settings to check.
You’ll have to check the midsole area and the forward pressure system.
- First, check the midsole area. You want to make sure that the midsole area of the ski boot matches up to the middle part of the ski.
- Then you can locate the pressure indicator to check the pressure system.
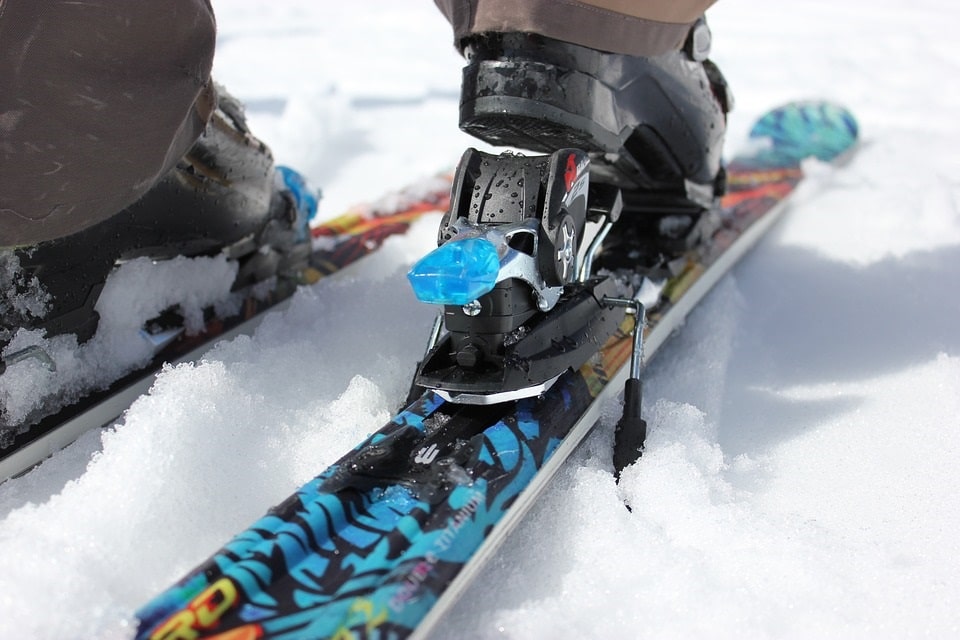
Step Four: Pressure Control Settings
The pressure indicator will be located on the back of the binding. If your indicator is on the heel piece you’ll need a middle adjustment. Adjust the indicator until it rests directly in the middle area.
When you lock the binding in place the pressure control will be visible. The pressure control helps your bindings twist and bend when you make turns.
On the compression control, you will see a small indicator. For most models, the indicator is colored yellow. You will only need to make small adjustments to get your results.
Gently move the heel of the binding forwards or backward until the indicator is centered. Your goal is to center the yellow indicator within the adjustment area.
Step Five: Release Force Settings
Remember how fast skiers can go down a hill? If you fall and need to be freed from your skis you will rely on your release trigger. A properly calibrated release trigger will mean the difference between safety and danger.
Broken Bindings
In this video below, you see first hand what it looks like when a binding doesn’t release properly. The video captures an individual who is skiing and falls down a hill.
One of their ski bindings releases properly but the other doesn’t. You can easily see how scary it would be to be tumbling down a hill with either of your ski’s attached.
Calculating Your Settings
The strength of your release trigger is controlled by your release force settings. There is an industry adopted scale for calculating your setting. The scale is called DIN and is short for German Institute of standardization.
Your DIN determines how much force it takes to release your boot from the ski. The majority of adult beginner skiers will have a DIN setting between two and seven. Advanced skill levels will have a setting between three and twelve. Your DIN setting was most likely first calibrated by a ski shop technician. They adjusted your DIN according to your weight, height and skill level.
Having a professional adjust your setting is always a good idea. The larger the adjustment, the more need for an expert. Also, some warranties are voided if you adjust the DIN without the help of a certified technician.
Calculating Your DIN
We just can’t stress enough how important your DIN setting is.
You have to be extremely careful when adjusting your setting. This is one of the most crucial steps in how to adjust ski bindings. Simply because you could easily be injured if your DIN is set too high or low.
- A low setting means the binding could release when you don’t want it to.
- Alternatively, too high of a setting means you won’t be able to free yourself from your skis.
When skiers aren’t able to free themselves during a fall they can incur serious physical damage. Injuries like torn ACL’s, fractures or sprains are often the results of an improper setting.
Using a DIN Calculator
Use a DIN calculator for this part of the process. This is where you’ll need to use the information you gathered earlier. The online calculator will need to know the skier’s weight, height, boot size, skill level, age, and gender.
Keep in mind that your DIN will not stay the same over time. Instead, it will adjust as the determining factors change. If your weight changes or skill level, so will your DIN setting. Your DIN setting will also be different if you are carrying a backpack that adds substantial weight to your body. This setting is so delicate, even the type of snow you ski on can affect the accuracy.
How to Adjust Ski Bindings: Steps 6-9
Now that you’ve learned the first steps on how to install ski bindings, let’s take a closer look at adjusting them to fit.
Step Six: Adjust Your Front Toe Area
Everything needs to be readjusted now, down to the tips of your toes.
Now, you can adjust your toe piece accordingly. When you change you DIN settings, your entire binding will need readjustment. Starting with the toe area.
- The new setting will need to match with your updated DIN adjustment. You will need to use your screwdriver to adjust the toe piece settings.
- Visually locate the screw located at the front of your binding.
- With the front screw in sight use the screwdriver to begin rotating it clockwise.
- Continue to rotate the screw until the number indicator matches the updated DIN number.
Step Seven: Adjust the Back of Your Binding
With the front setting in place, let’s look at the back of your binding.
- When fitting your binding everything should sit still. Double check to make sure the binding is sitting snugly. There shouldn’t be any wiggle room if you try to shift the boot around. Instead, it should sit firmly in place.
- The back end of your ski boot should be slid into the binding for a tight fit. The back end of the ski binding and the boot have to be closely pressed together.
Now is the time to recheck the pressure indicator.
Earlier you adjusted the pressure indicator by sliding the heel of the boot. You will need to make sure that with your other adjustments, this setting is still placed properly in the yellow zone. Now you can use the screwdriver to adjust the back of the binding. This will be identical to the front adjustment. Turn the screw clockwise until it matches your DIN number.
Step Eight: How to Adjust Ski Bindings Test
You are so close to being done, you can almost see the snow from here.
Now that you’ve learned how to tune ski bindings, it’s time to see how you did. Properly testing out your ski bindings is important before you hit the slopes.
- Start off by fitting the boots into your bindings. Make sure you have a ski pole handy before putting on the ski boots. Then slip into your ski boots for the moment of truth.
- With the boots on your feet, assess how you feel. Do you feel a tight secured fit or is there loose areas? Remember everything should fit snuggly into place without wiggling around. If you don’t feel secure in place something’s wrong.
- Take off the skis and start over with step one. Perhaps you made a miscalculation during steps 1-3. If this is the case you will have to do the entire process over again.
- However, if everything feels snug then you can rest assured you’ve done a great job.
- If you still have doubts you can always contact a certified technician. Depending on your skill level you might not be sure what a snug fit feels like.
Step Nine: Test the Brakes
Your brakes mean everything to you when you need a speedy stop.
- Now you will need to make sure your breaks area sitting in their correct positions.
- Improperly positioned breaks are an accident waiting to happen.
How do you check if the brakes are placed properly?
- Your rear brake will be parallel to the ski when the binding is still open.
- When the binding is closed the rear brake will assume the position of a 45-degree angle.
- This is where your ski pole will come in extra handy. Using the ski pole press down on the brake. This should unlock the binding.
How much resistance did you feel when pressing on the break?
- You want there to be resistance when you try to activate the brake.
- Without any resistance, your ski binding could let go of your boot at undesirable times.
- With too much resistance you could be stuck to your skis during a fall.
- Assess how easy it was for you to engage your brake.
Next, practice initiating the other brake with one foot.
- The idea is that on a hill your ski pole will open one brake and your freed foot can open the other.
- If you’re having difficulties with the break, you might need to readjust your DIN.
- Too much braking resistance indicates the need for a lower DIN.
- If you have any uncertainty about your braking resistance, get help from a professional. We can’t stress enough how important it is to have the right setting for your DIN.
Step Ten: Hit the Slopes with Confidence!
Finally, your time to shine is here!
Now you know how to adjust ski bindings. You’ve invested a lot of time and money into your hobby. Make sure you get the most out of your investment with up to date information on the ski products out there!
Feel free to contact us if you have any questions or just want to know more! Our goal is to help you get the most out of your skiing adventures.